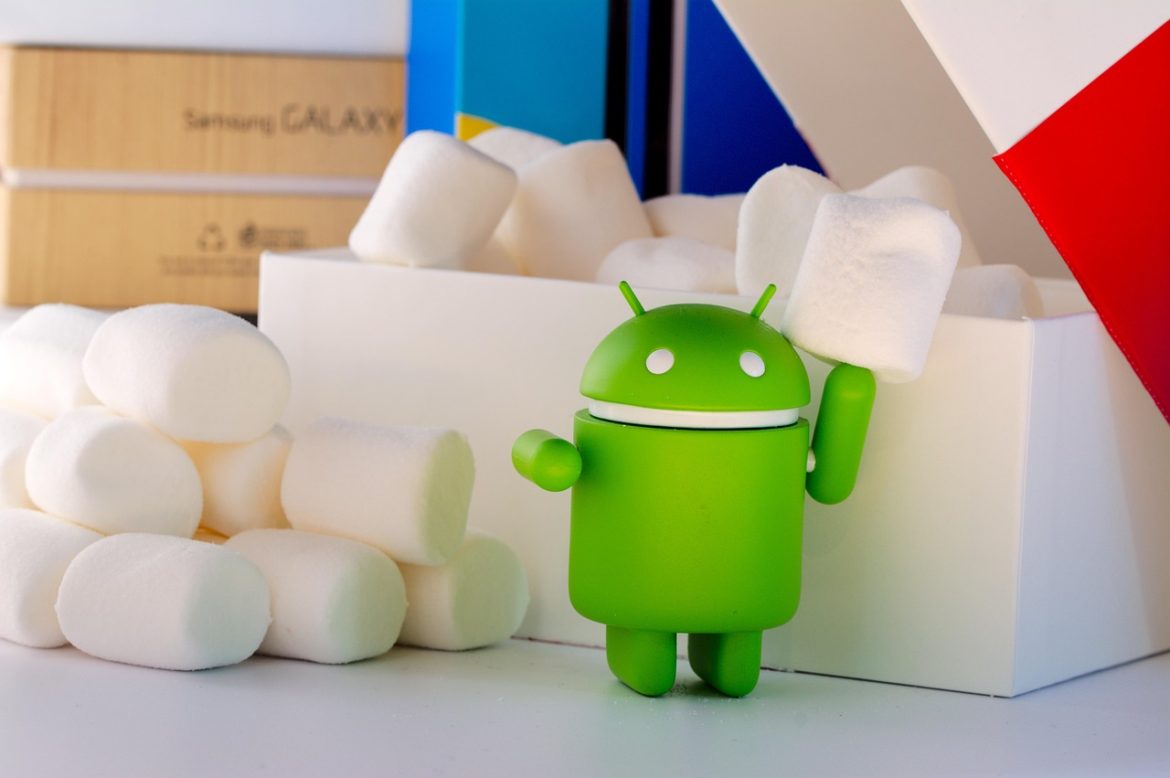
One of the distinct advantages Android holds over its competition is the sheer level of control Google offers users to personalize the smartphone experience. Beyond the standard settings menus, the operating system conceals a layer of “secret” configurations tucked away under Developer Options. These hidden settings include a specific tweak that can make a device feel significantly faster. It is important to note that this is largely a matter of perception rather than a raw performance boost; the processor isn’t working harder, but the user interface allows for snappier navigation by reducing animation times. For those looking to revitalize a sluggish interface, adjusting these animation speeds is a simple yet effective trick.
Unlocking the Developer Menu
To access these adjustments, users must first enable the Developer Options, which are disabled by default to prevent accidental system changes. The process involves navigating to the main Android Settings and locating the “About Device” or “About Phone” section. Inside, you must find the “Build Number”—its exact location can vary slightly depending on the manufacturer or OS version. Once located, tapping the Build Number seven times in rapid succession triggers the activation. If done correctly, a notification will appear on the screen confirming that you are now a “developer,” unlocking a new menu in the system settings.
Fine-Tuning Animation Scales
With the new menu active, the next step requires scrolling through the extensive list of debugging and networking options to find the “Drawing” section. Here, three specific settings control the interface speed: Window Animation Scale, Transition Animation Scale, and Animator Duration Scale. The first controls how quickly windows open and close, the second manages the switch between different screens, and the third dictates the speed of interface elements. By default, Android sets these to “1x.” To create the illusion of a device that is twice as fast, users should change all three settings to “.5x.” This cuts the animation time in half, making the phone feel instantly more responsive. If the effect feels too abrupt, the settings can easily be reverted to the original values.
Migrating to the Apple Ecosystem
However, for some users, tweaking an existing Android device isn’t enough, and the decision has been made to switch platforms entirely. Whether prompted by a gift or simple curiosity, moving from an Android device to an iPhone used to be a daunting logistical challenge. Apple, recognizing that data migration is a major friction point for new customers, developed the “Move to iOS” application to streamline this transition. This tool creates a direct bridge between the two operating systems, allowing for a secure transfer of essential information without requiring a complex manual setup.
Preparing the Devices
Before initiating the handshake between the two phones, a few prerequisites are necessary to ensure a smooth operation. Both the old Android phone and the new iPhone should be plugged into power sources to prevent battery failure during the transfer. A stable Wi-Fi environment is essential, and users should verify that the content on the Android device generally fits within the storage capacity of the new iPhone. The process begins on the Android side by downloading the “Move to iOS” app from the Google Play Store and keeping it ready. Simultaneously, the new iPhone must be powered on and taken through the initial setup screens until reaching the “Apps & Data” section.
Executing the Transfer
Selecting “Move Data from Android” on the iPhone generates a one-time code that establishes a private, temporary Wi-Fi network between the two devices. After entering this code into the Android app, the phones will connect. It is normal to see warnings about weak signals or unsecured networks during this phase; this is simply the devices establishing their direct link. Once connected, the user can select specific categories to transfer, including photos, message history, contacts, calendars, and file folders. The transfer time varies significantly based on the volume of data, so patience is key. It is crucial to leave both devices alone—and the Android app open on the screen—until the loading bar on the iPhone finishes completely.
Finalizing the Setup
Once the transfer is complete, the Android device can be set aside. The final steps involve finishing the on-screen setup for the iPhone, including configuring Face ID and signing into an Apple ID. Interestingly, the system is smart enough to identify free apps you previously had on Android and will attempt to download their iOS counterparts from the App Store automatically. While the process handles the bulk of personal data, some items cannot be transferred due to system differences. These typically include saved passwords in Chrome, specific files protected by DRM, and music downloaded outside of streaming services. Despite these minor limitations, the modern migration process handles the heavy lifting, allowing users to start their journey in a new ecosystem with their digital memories intact.